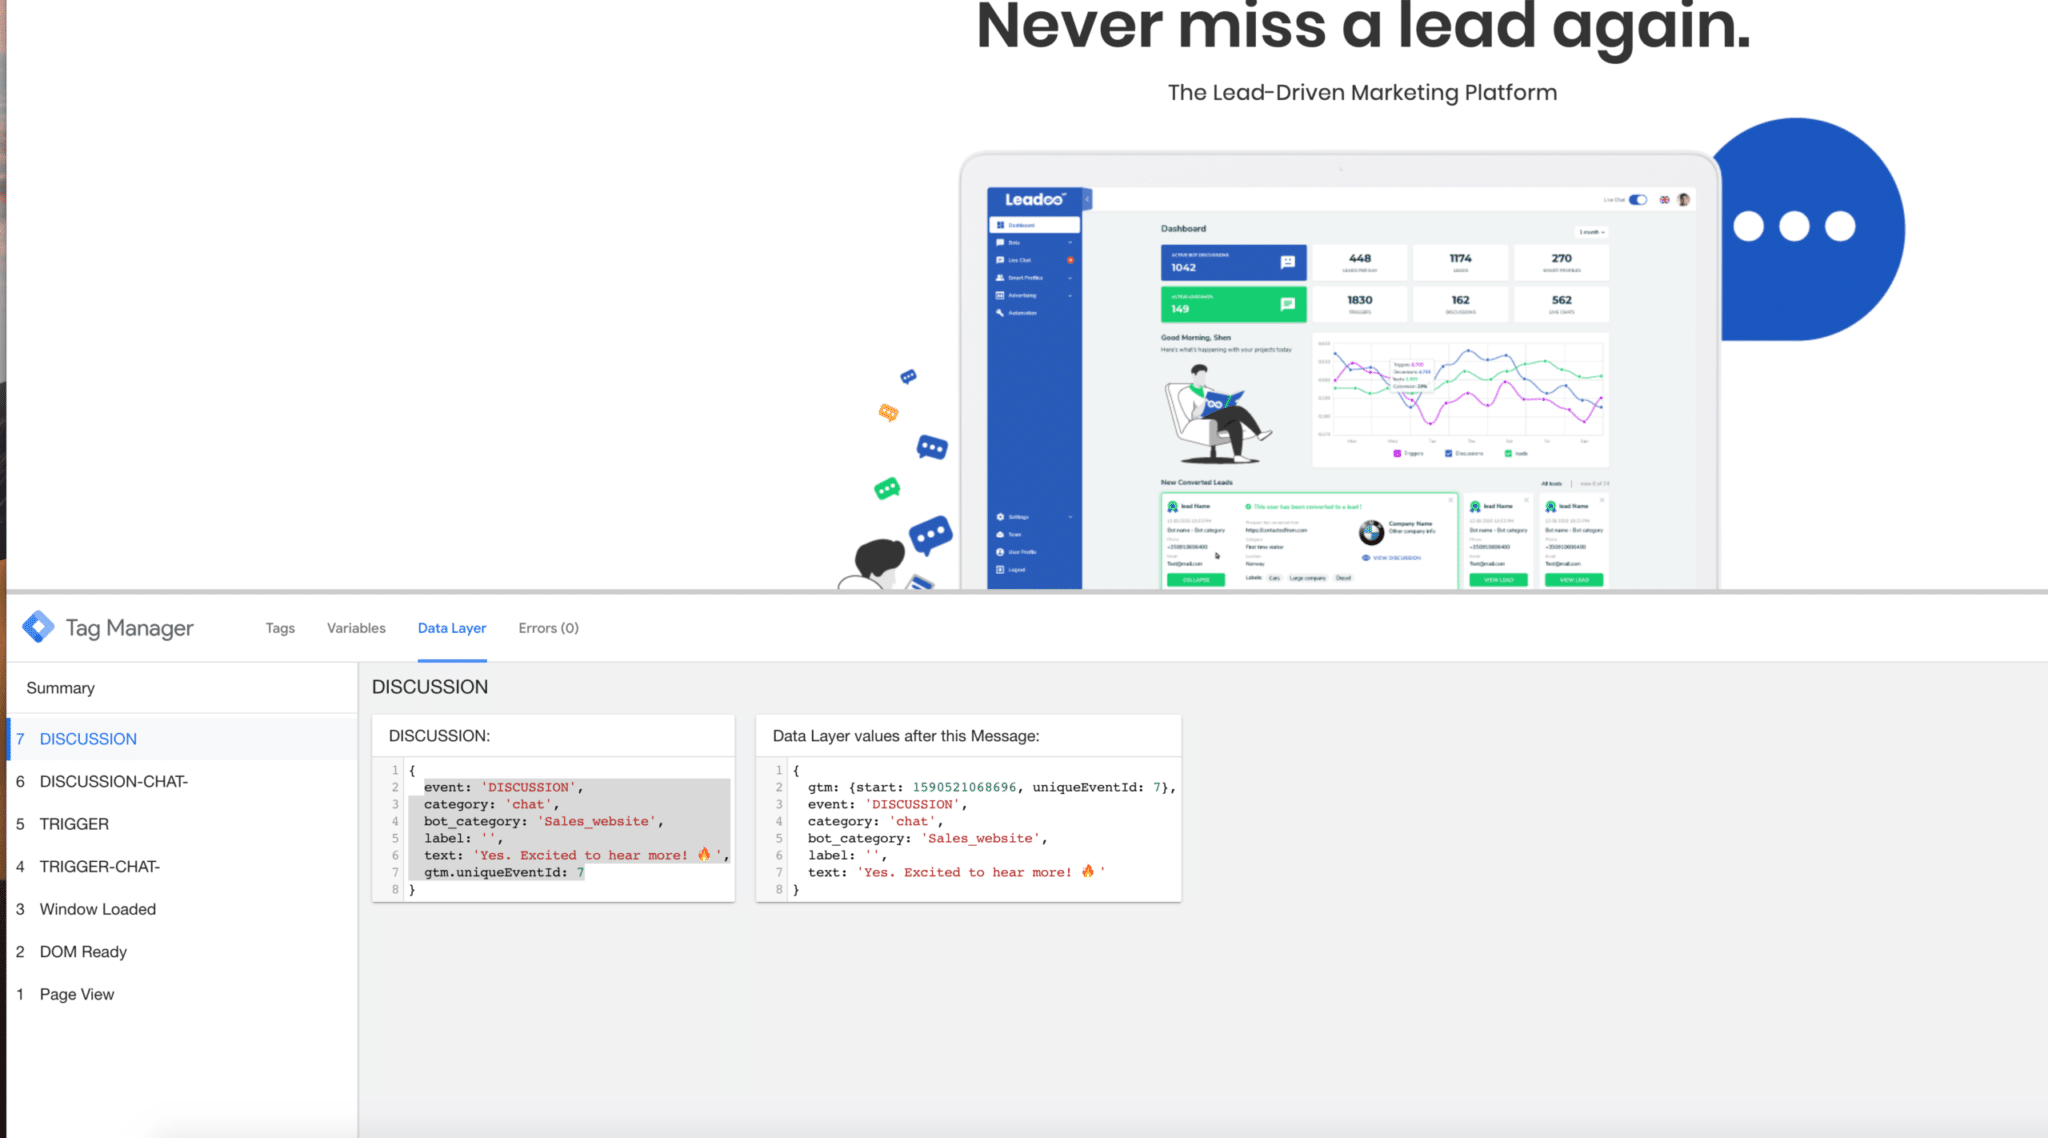
Leadoo is fully integrated to Google Tag Manager, meaning that custom events can be triggered for every interaction any visitor does with Leadoo chatbots. Here’s how to implement Google Tag Manager to work with Leadoo.
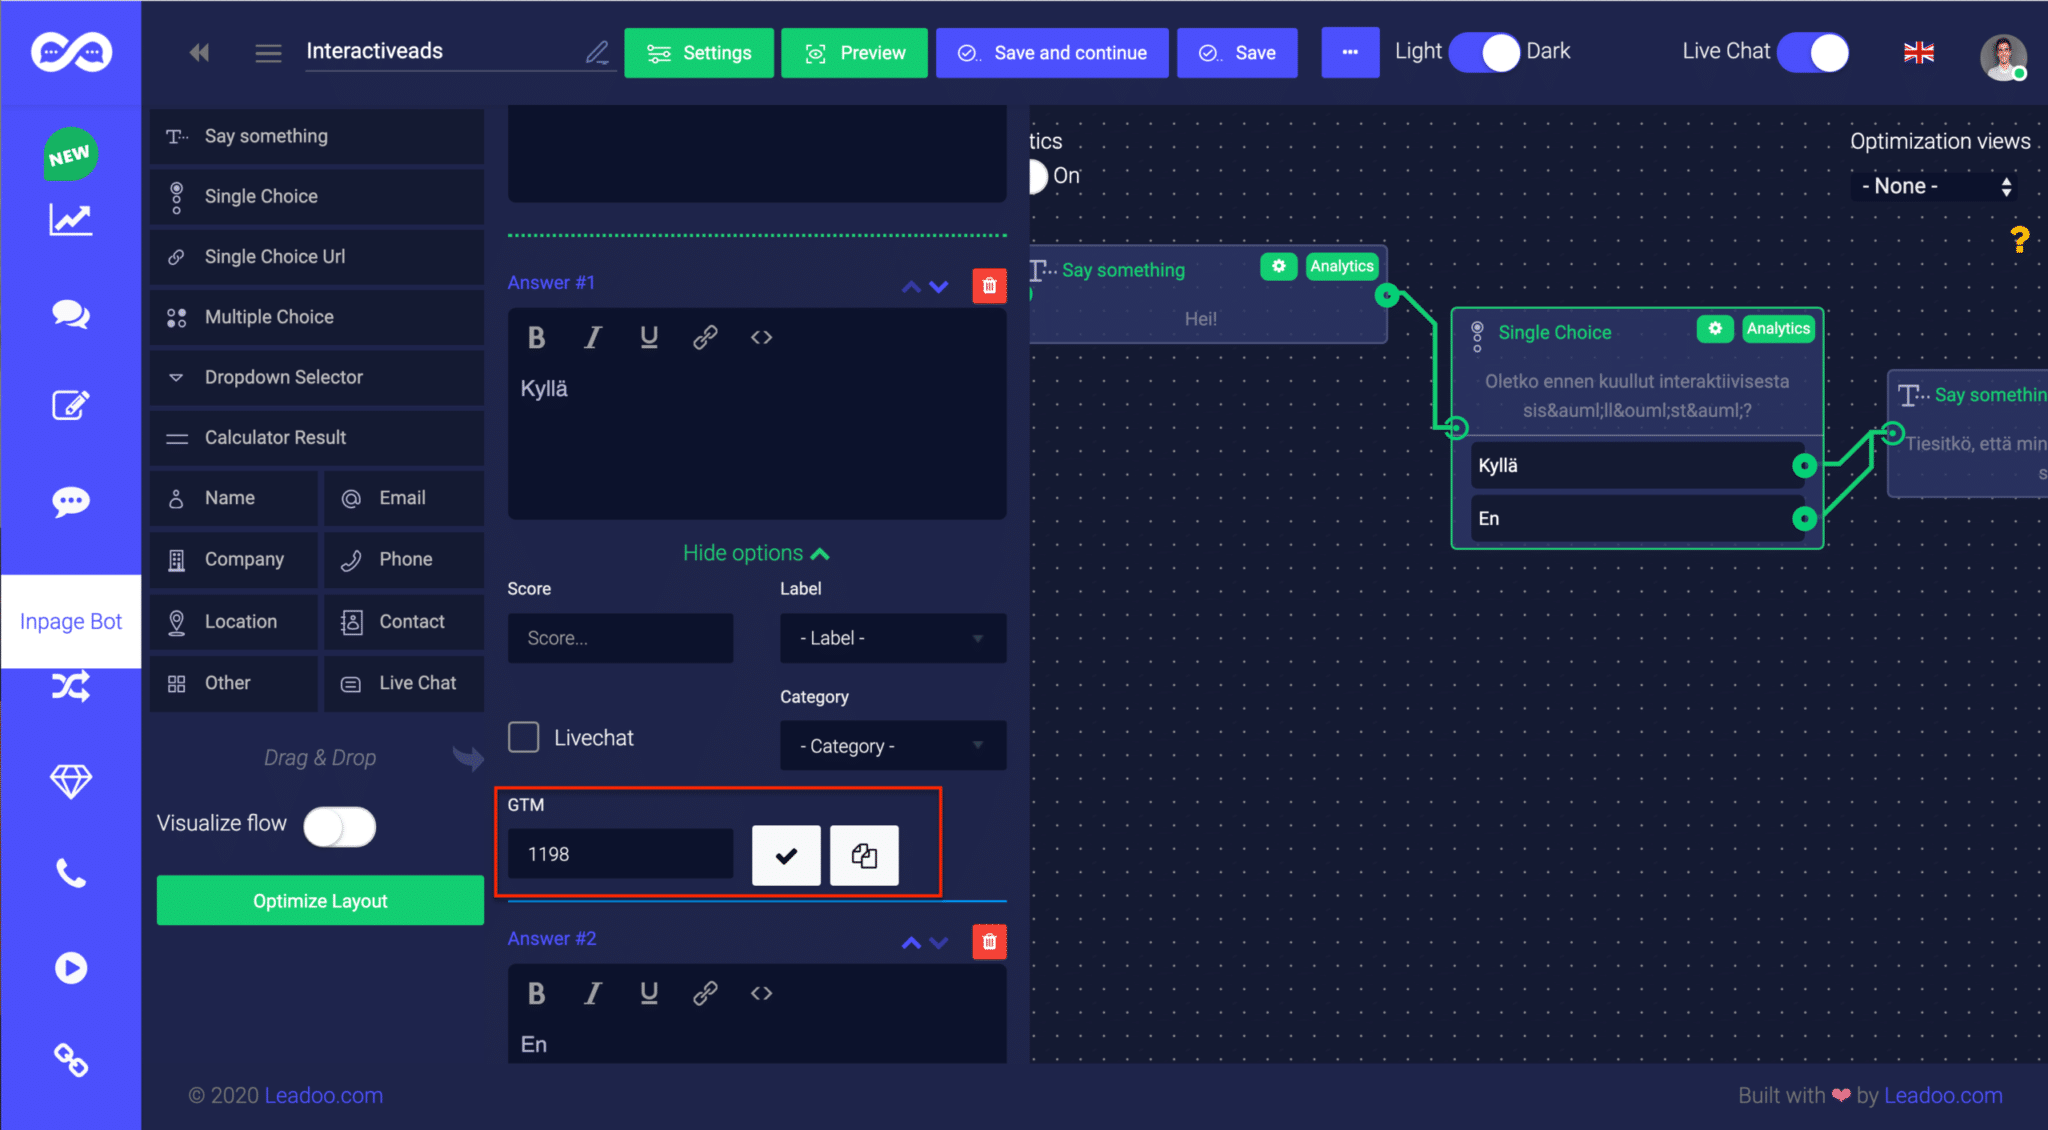
1. Add your Google Tag Manager container ID to your Leadoo admin panel
Go to Settings -> General -> Other
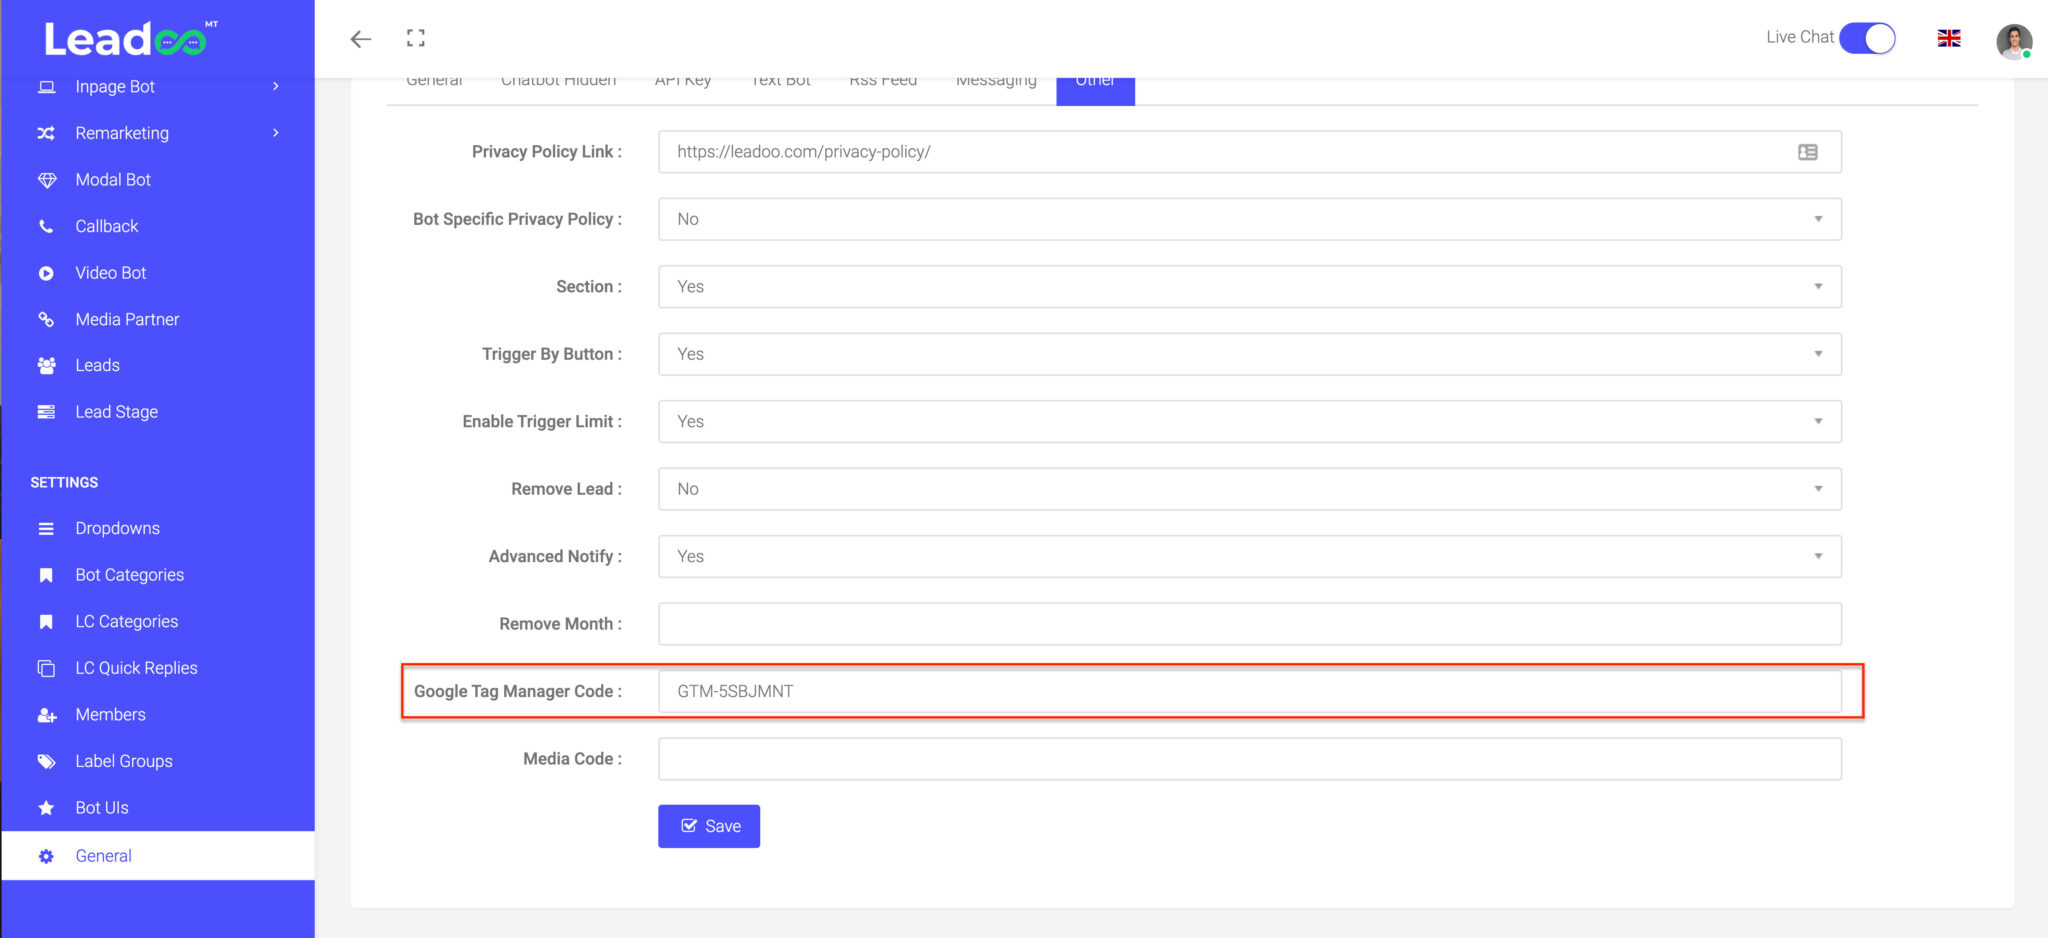
After this has been set your bots will start sending events.
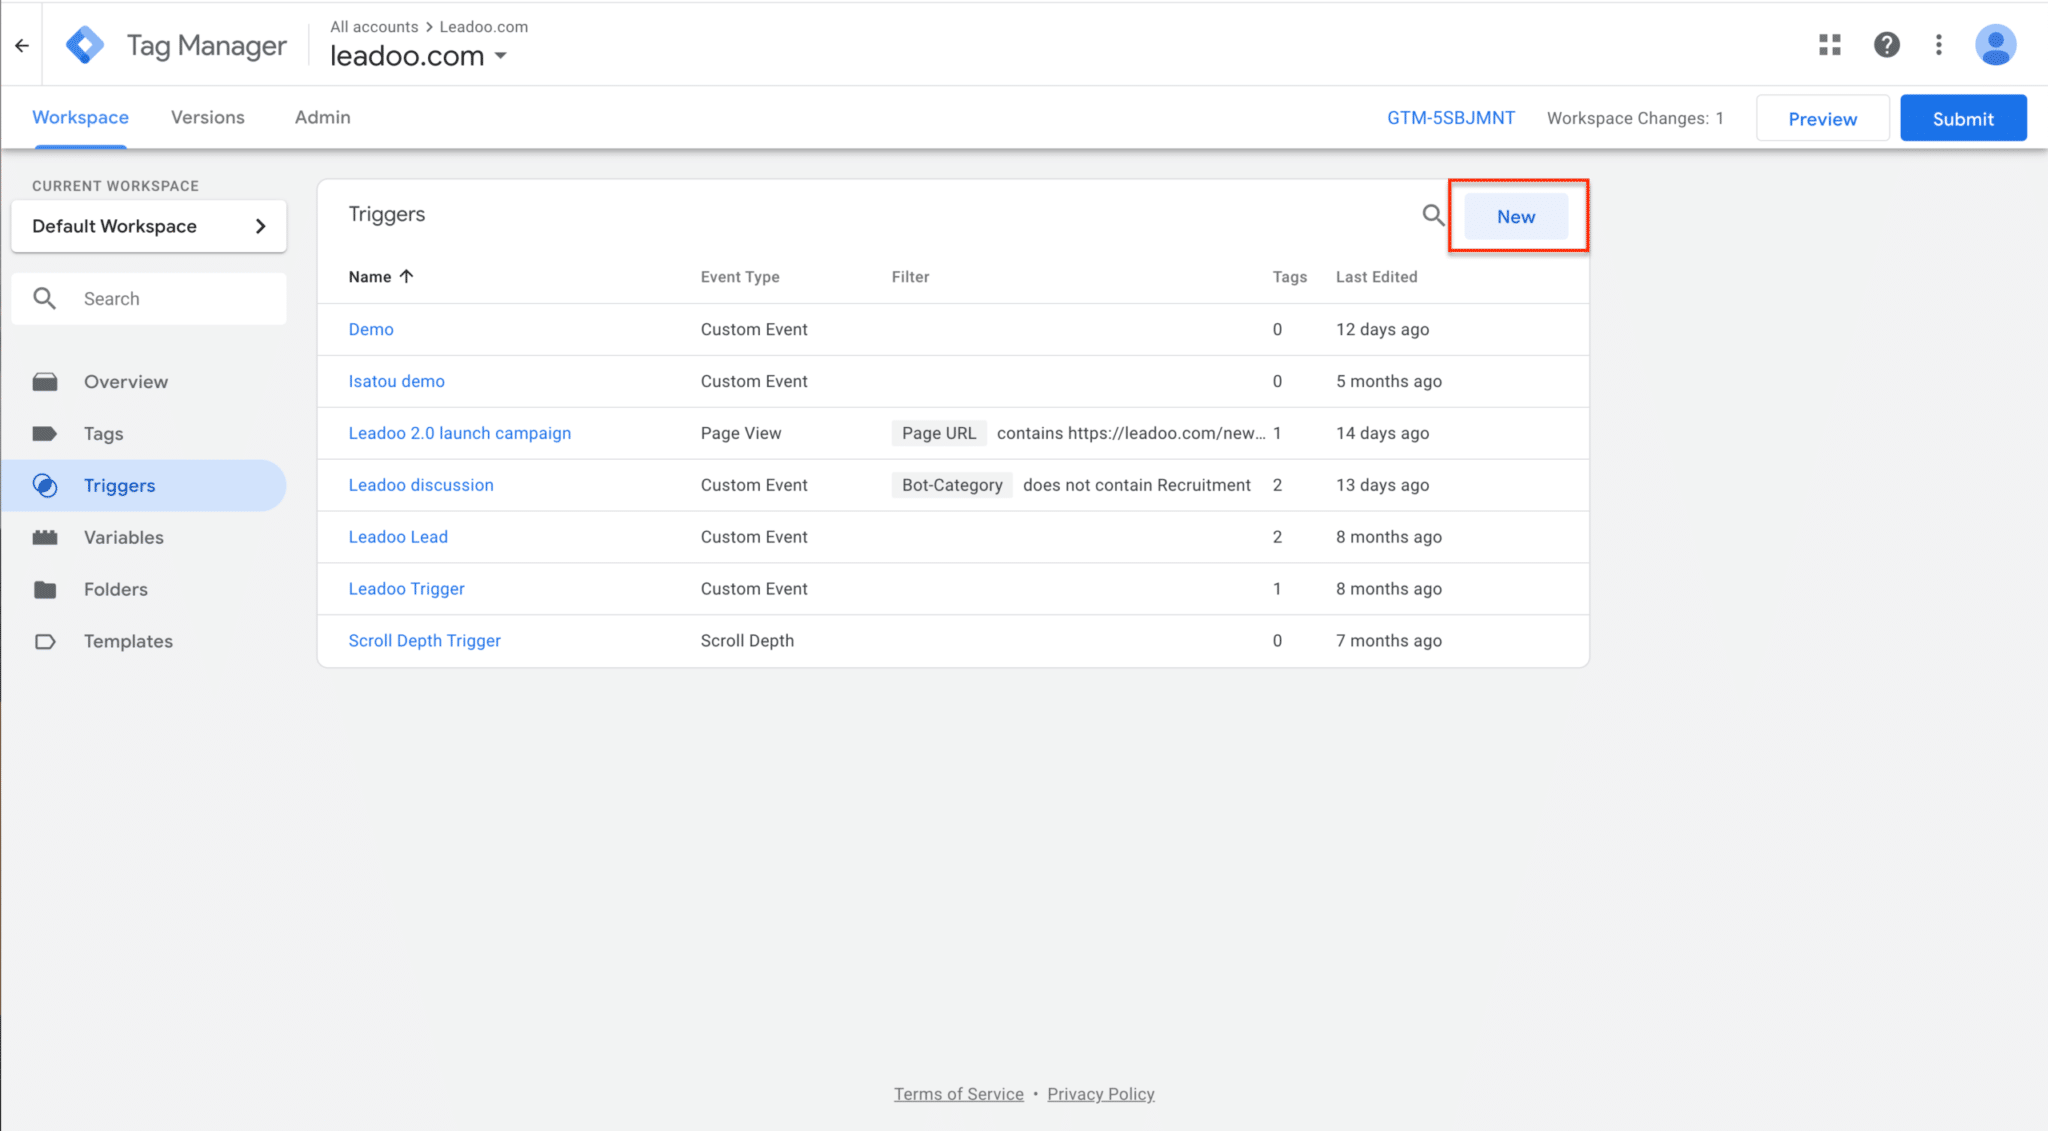
2. Open Google Tag Manager and create a new trigger
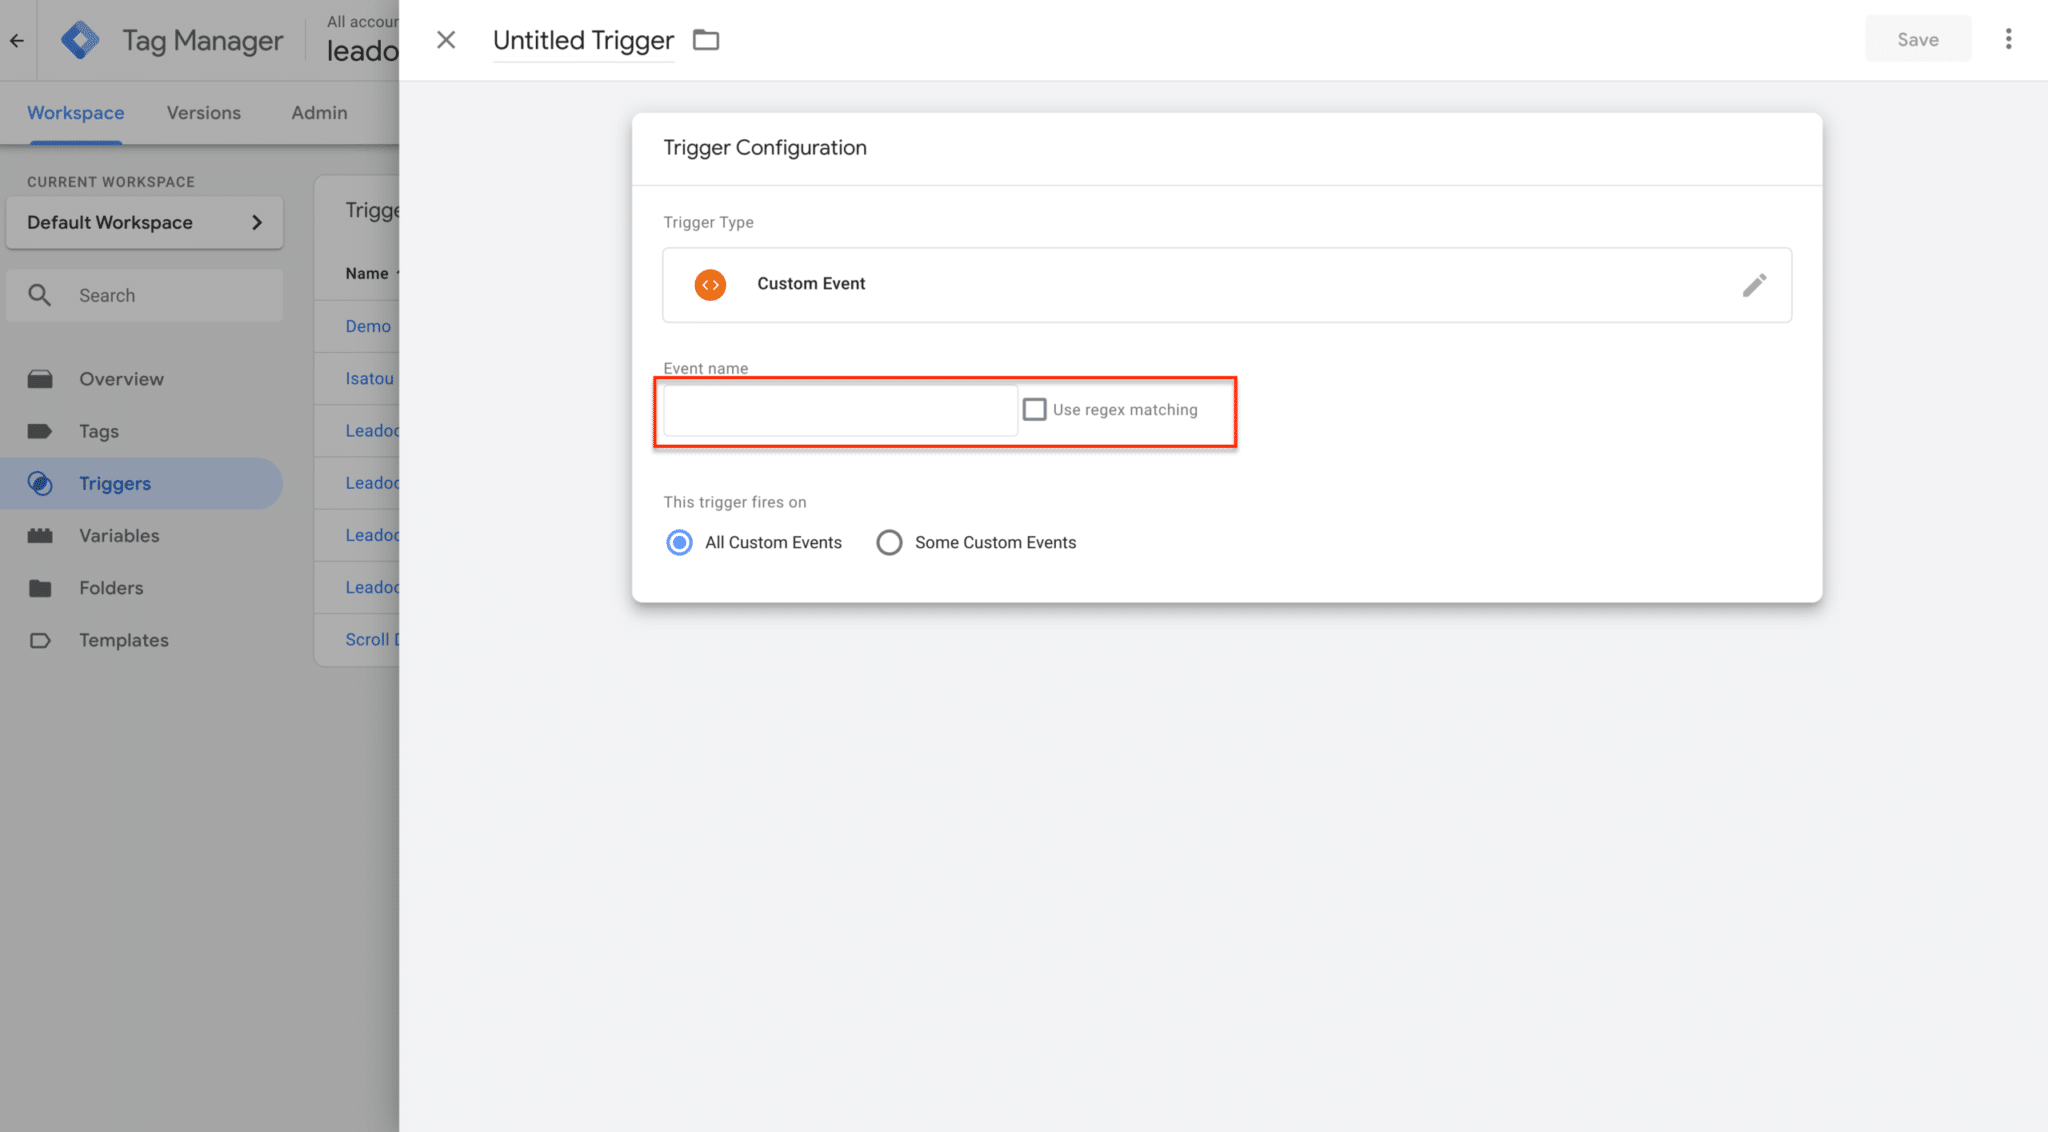
Select “Custom event”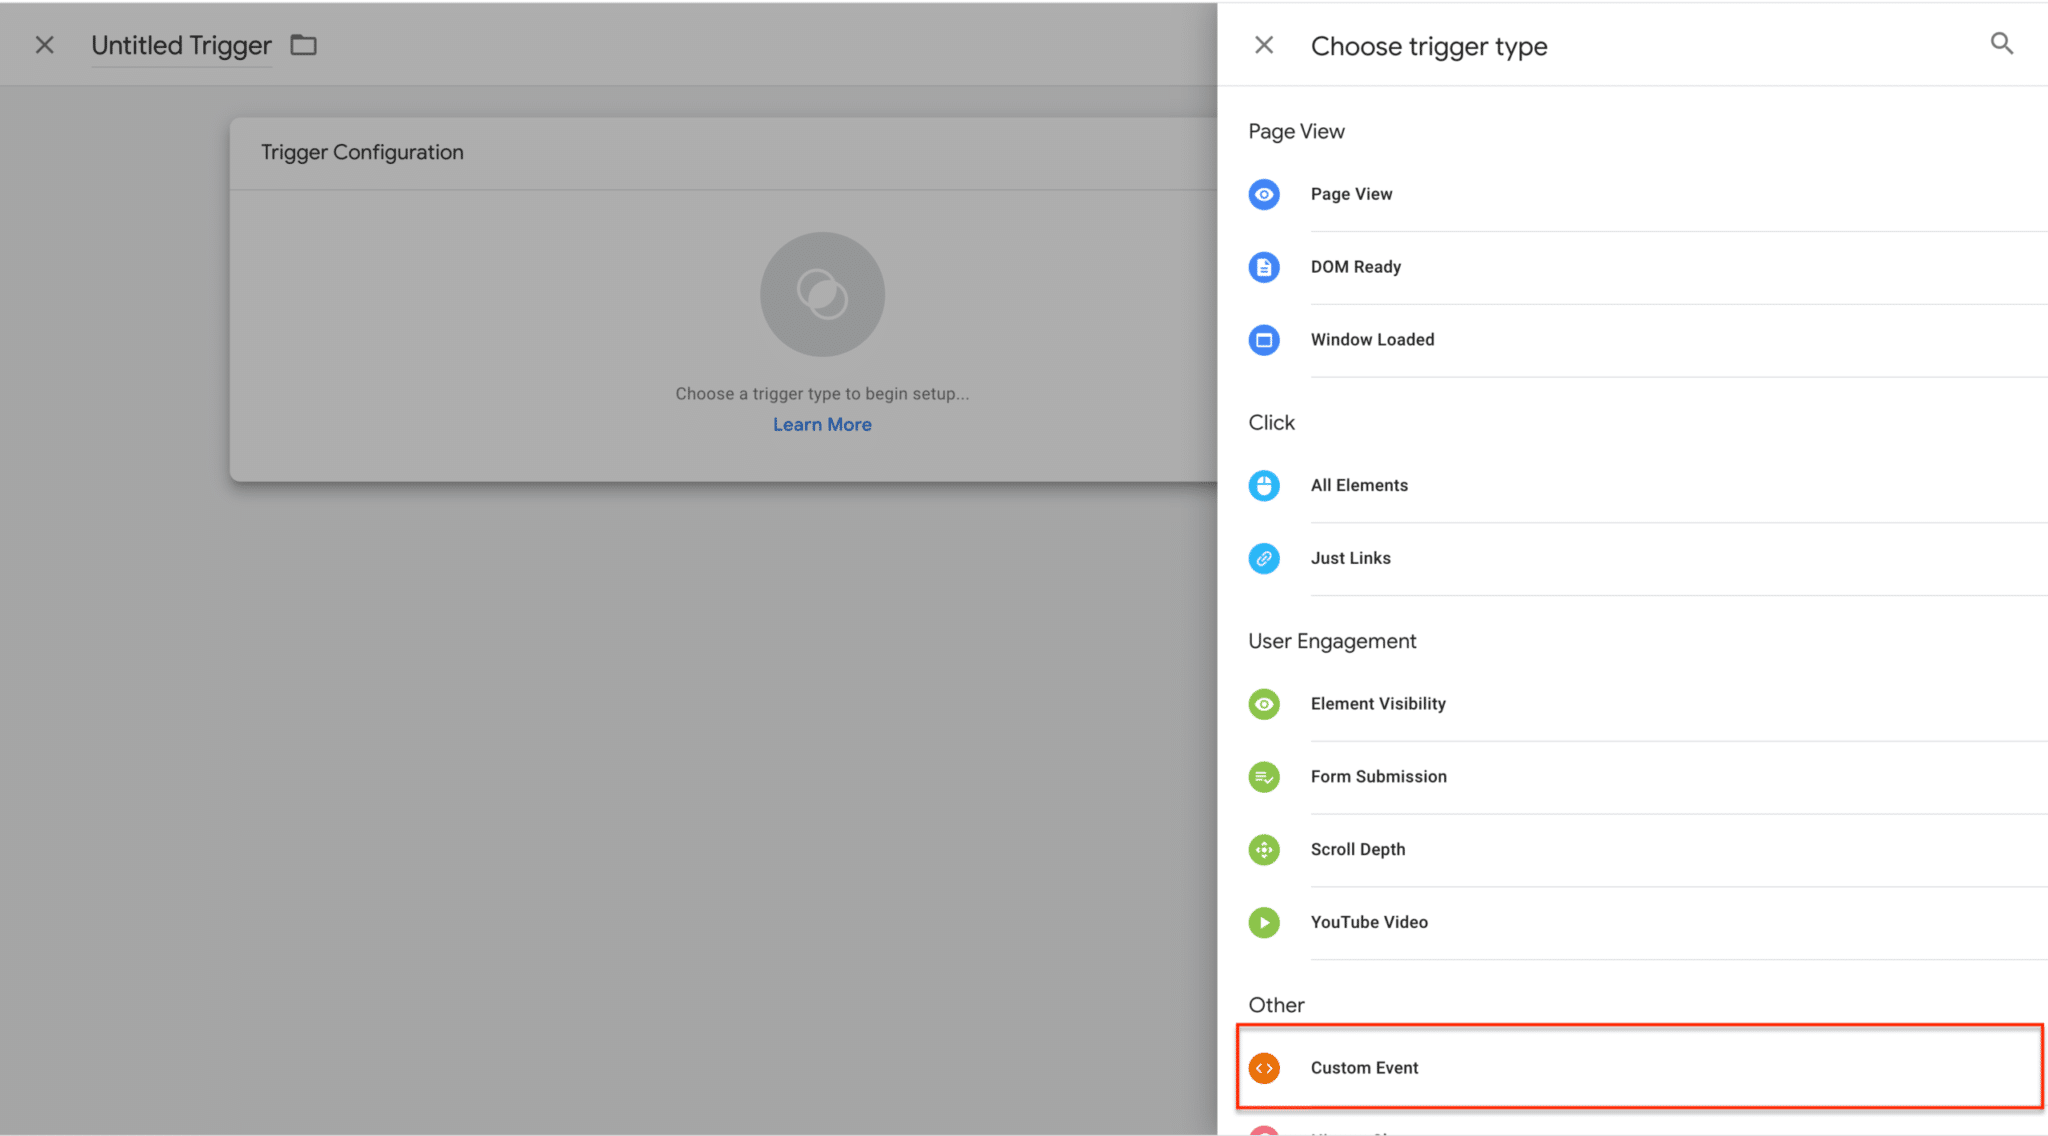
Set the event name accordingly
GTM TRIGGER NAMES
– Multiselect options
As default the event names are set such as: “GTM-130”, but they can be edited on the Leadoo backend.
Dynamic events that are always set are
– Trigger
TRIGGER – Is sent when any bot triggers
– Discussion
DISCUSSION – Is sent when any bot discussion is initiated
– Lead
LEAD – Is sent when a lead is converted
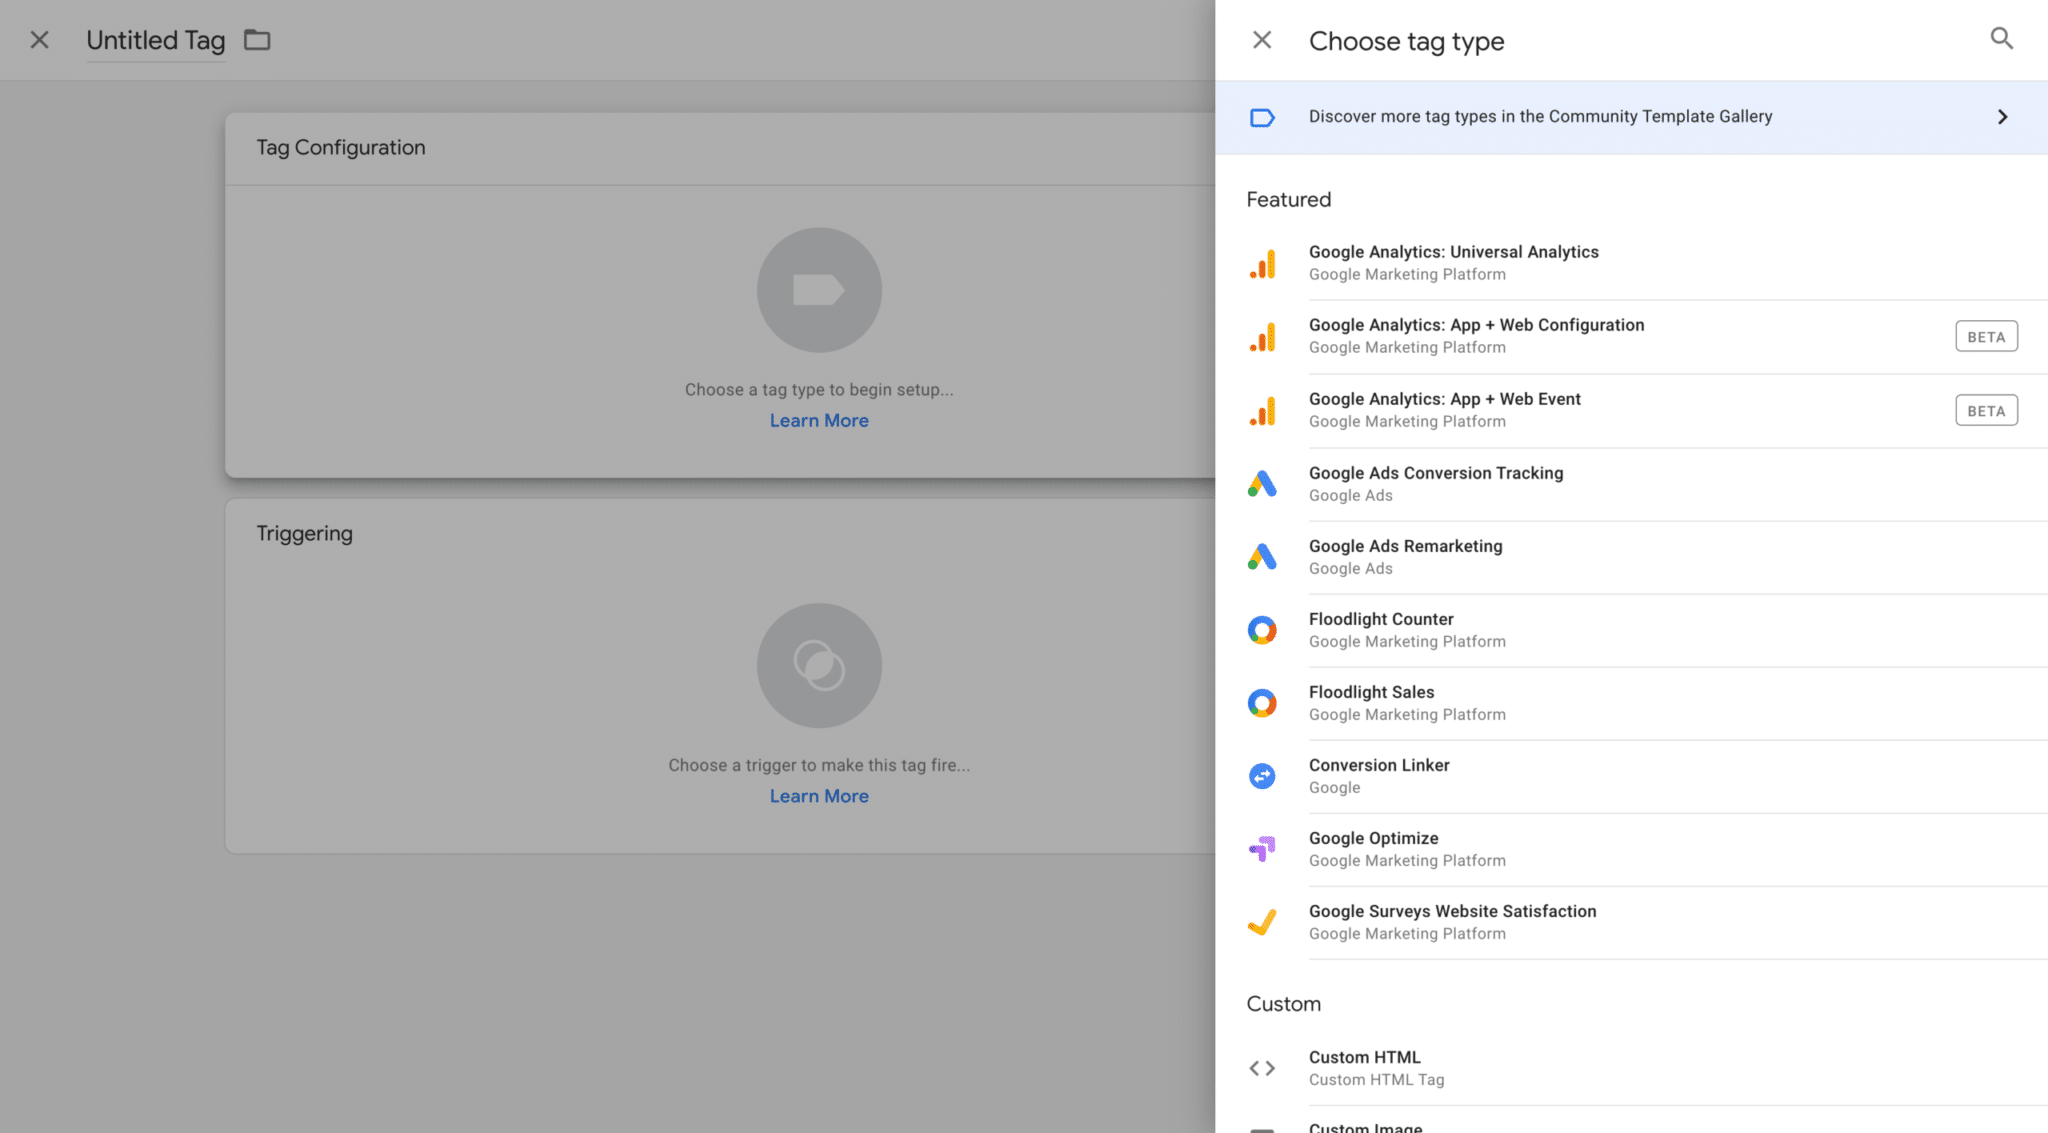
3. After creating the triggers, you can move to creating the tags
Choose “Track Type -> Event”
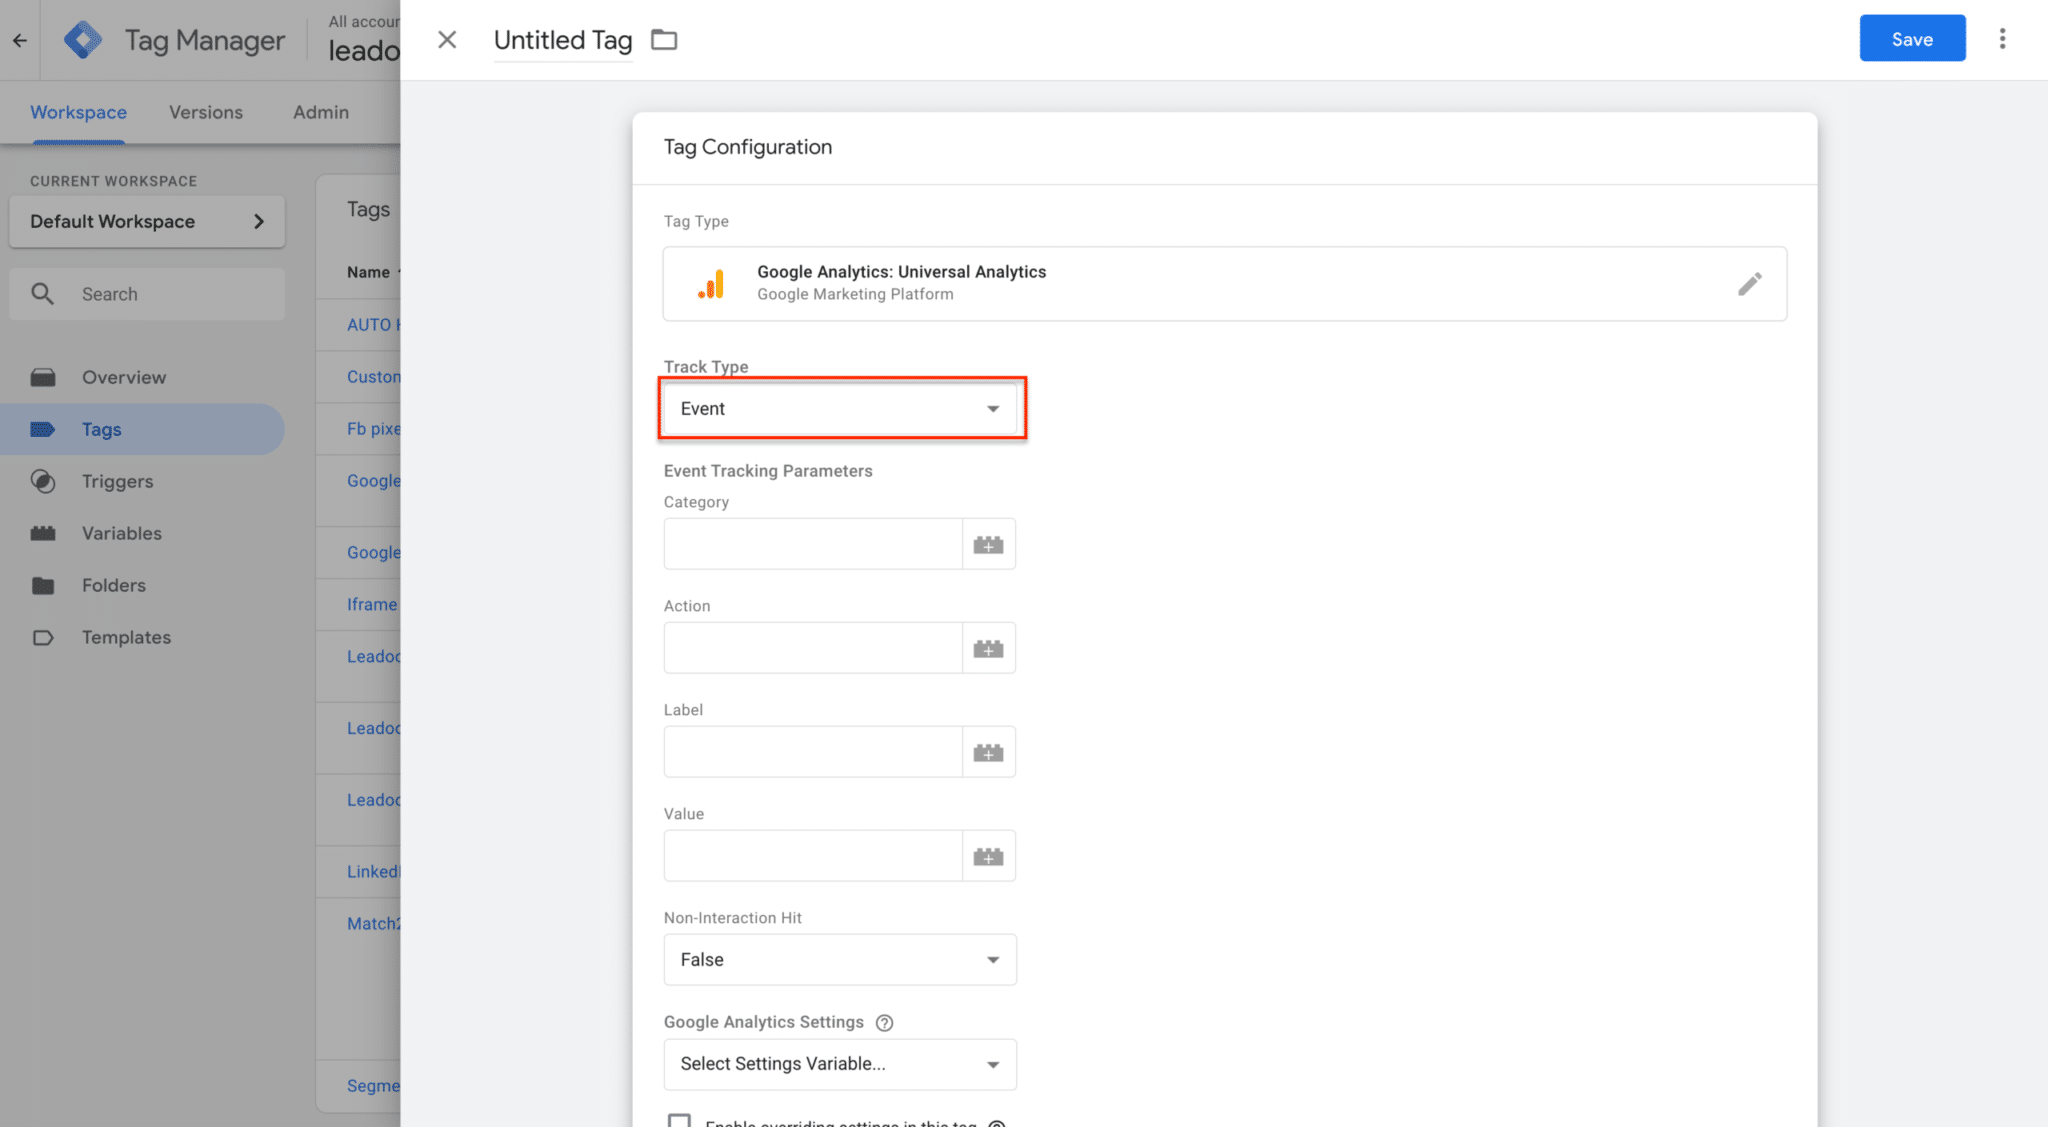
Set the desired values for category, action and label.
Most commonly we suggest to add the following values for basic users when measuring just leads / conversions:
Category: Leadoo
Action: Lead / Discussion / Trigger
Label: Page url variable
Connect this created tag to the trigger that is associated with action set in this section.
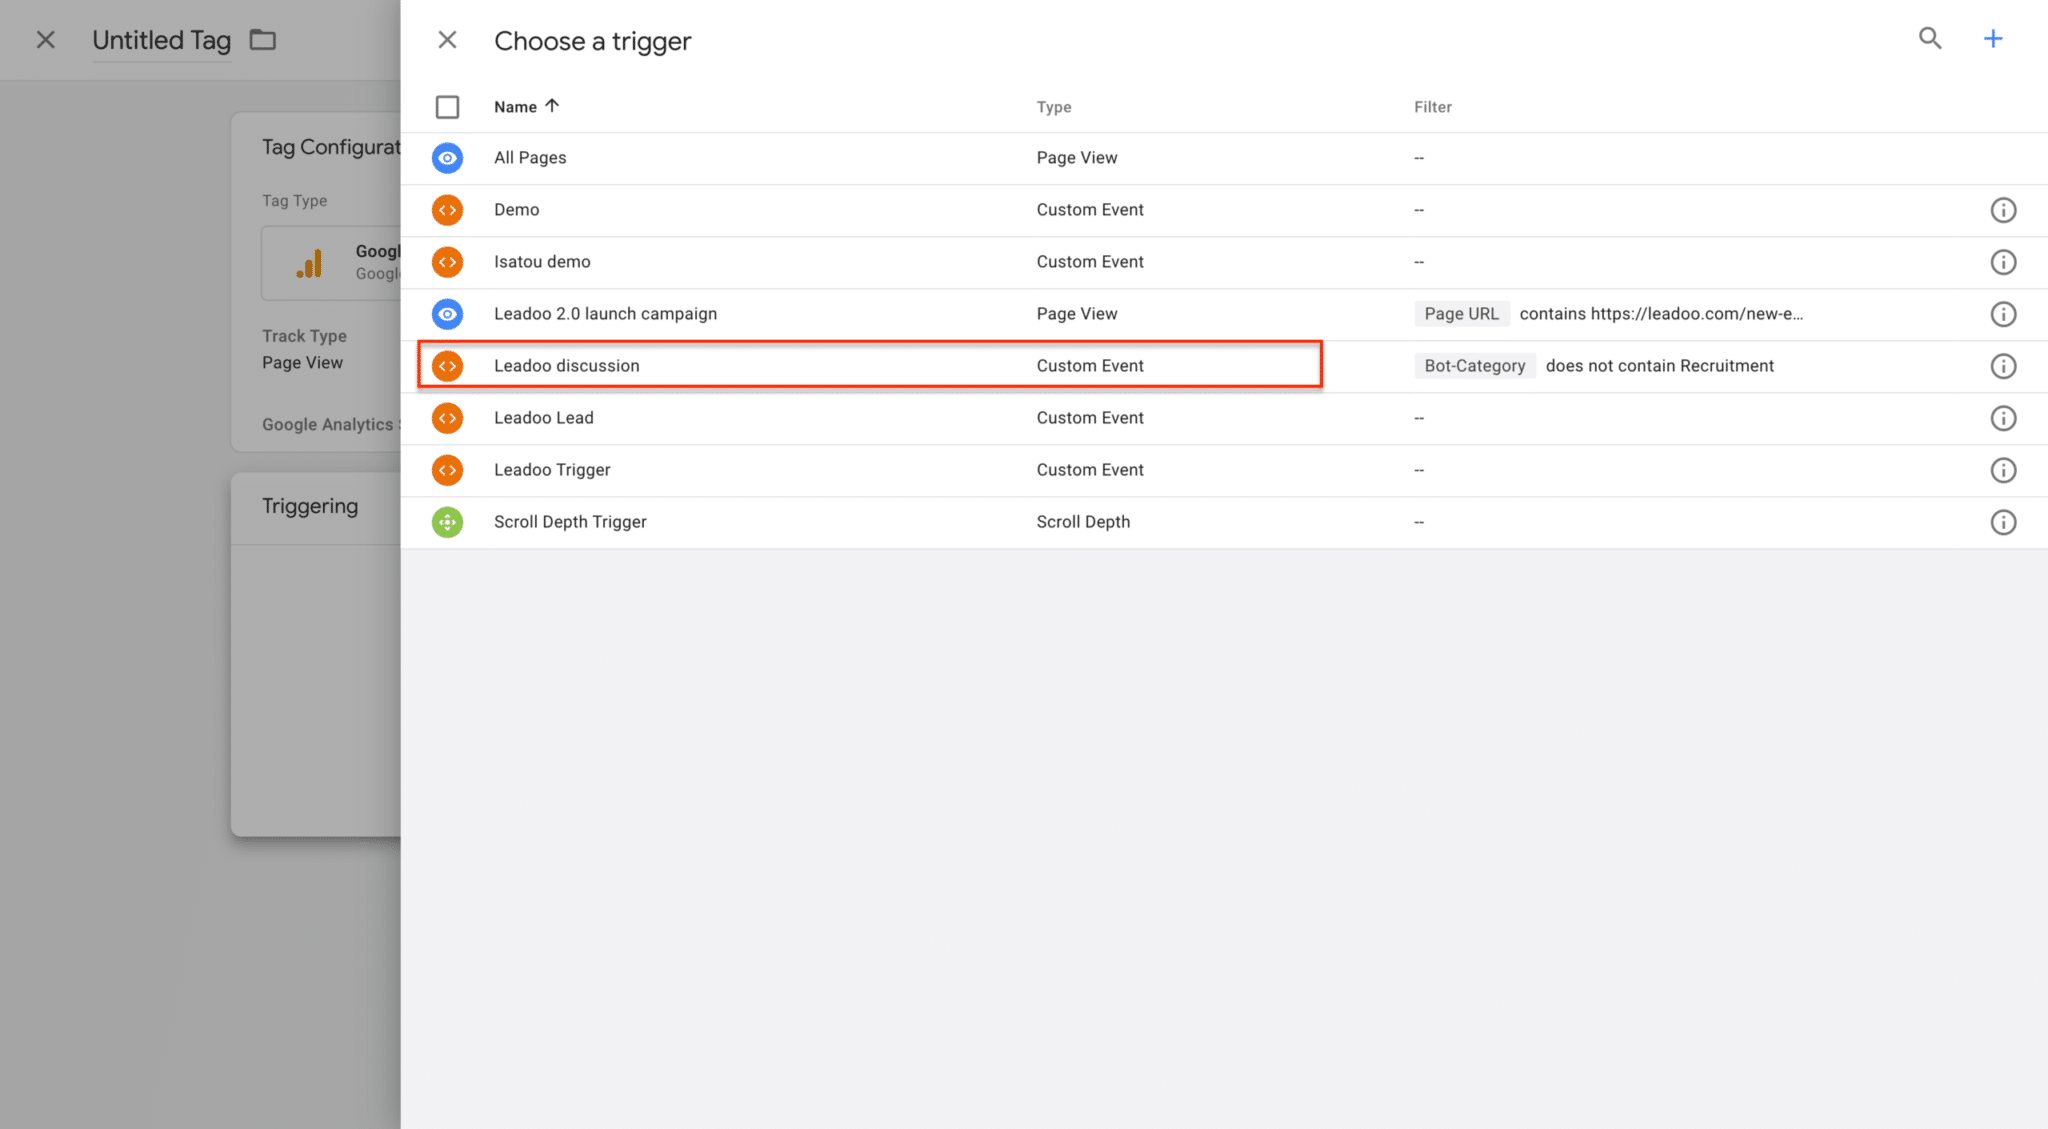
Now you will be able to track your Leadoo conversion in Google Analytics.
Advanced users
More advanced Google Tag Manager users can also leverage the information sent over on the data layer. The following details can be used to create custom variables
Category <- Bot type (Inpagebot, Chat)
Bot_category <- For each bot you can set a bot category on the Leadoo backend, this allows you to create for example separate analytics for sales and recruitment bots
Label <- For each multi select answer you can create custom labels. These can be for example interest type of the customer
Text <- Info of what text was written on the bot.
