When you are ebedding an InpageBot, you have multiple options to choose from to find the way to embed, that fits you best.
https://youtu.be/ua-QRvd0U1M
If you are a basic user, use the recommended settings. When using the recommended settings the embedding is really simple. If you know what you are doing, you can customize the Bot by choosing different options in code generator.
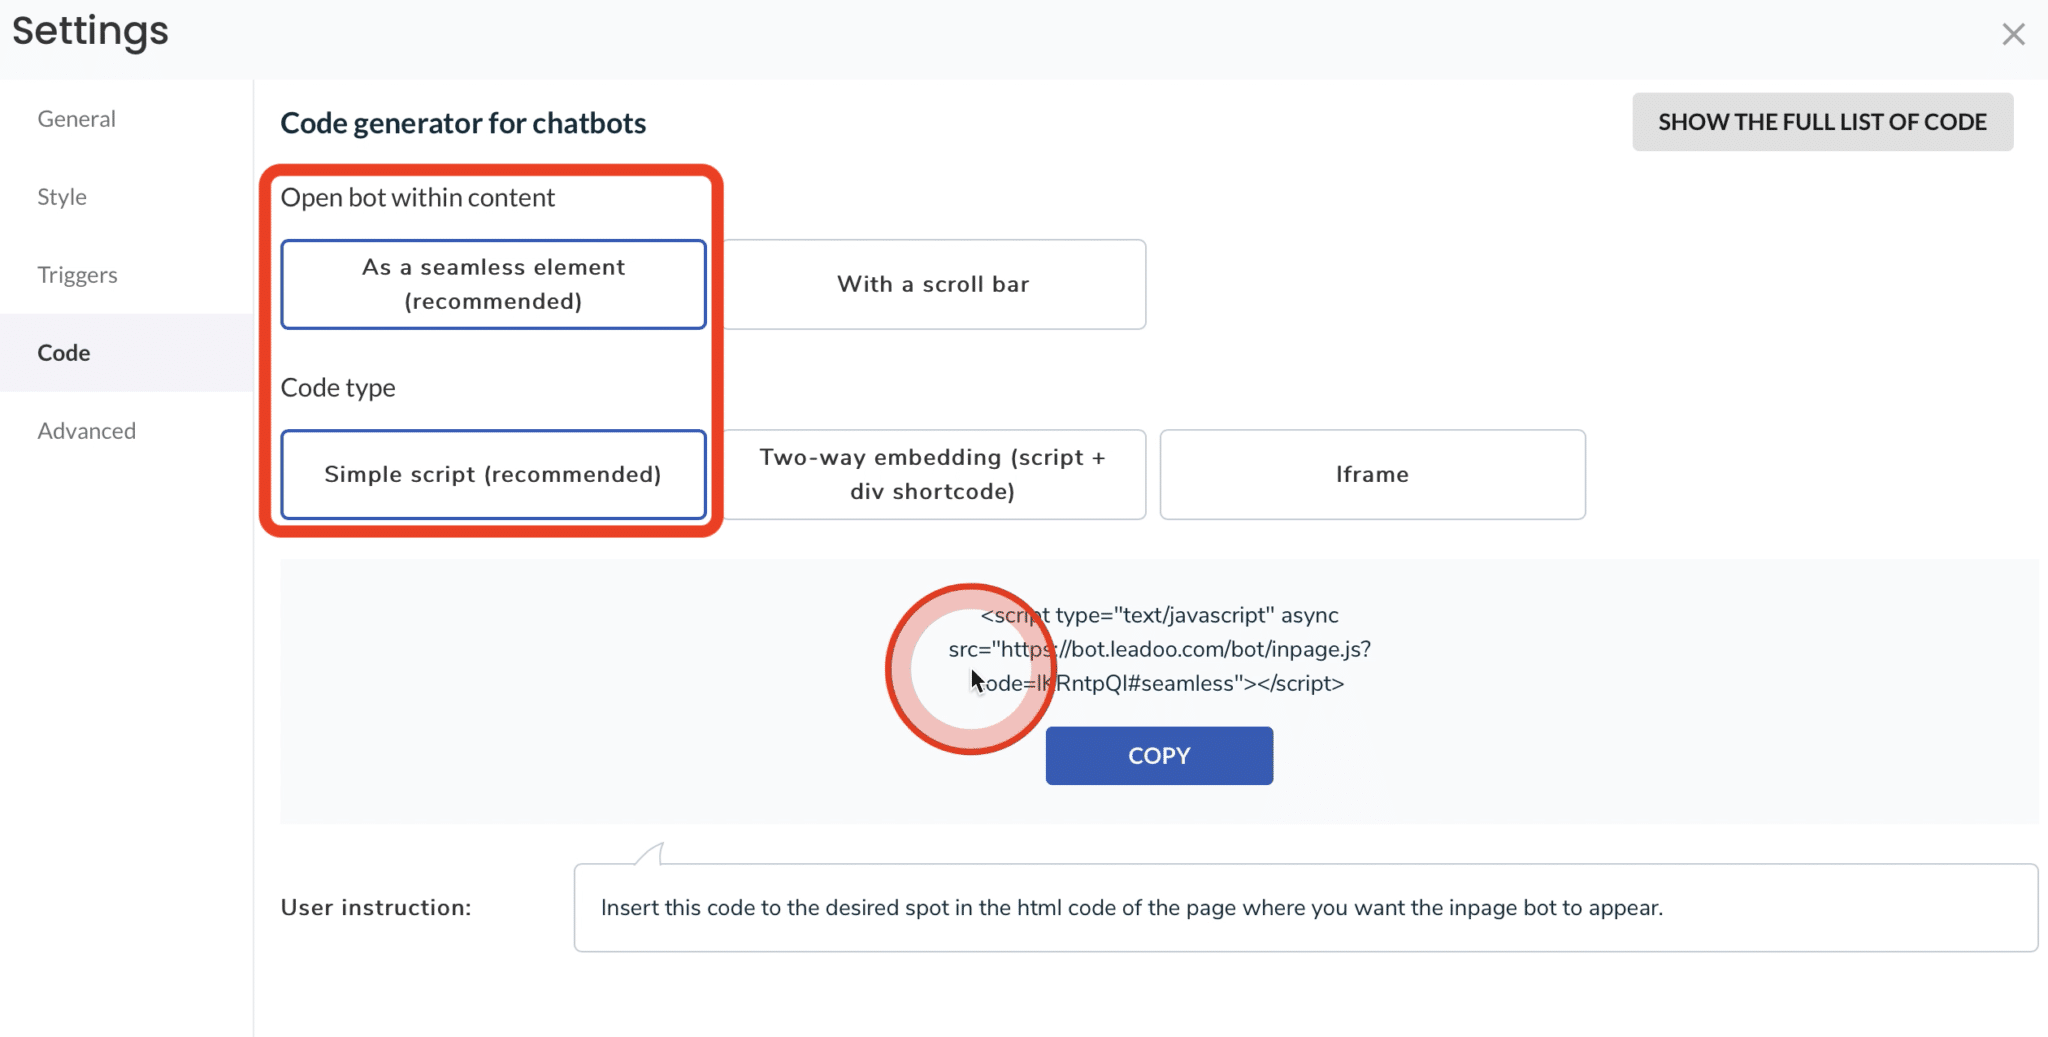
If you are a developer or advanced user, you can also click “Show the full list of code” to see all possible options available.
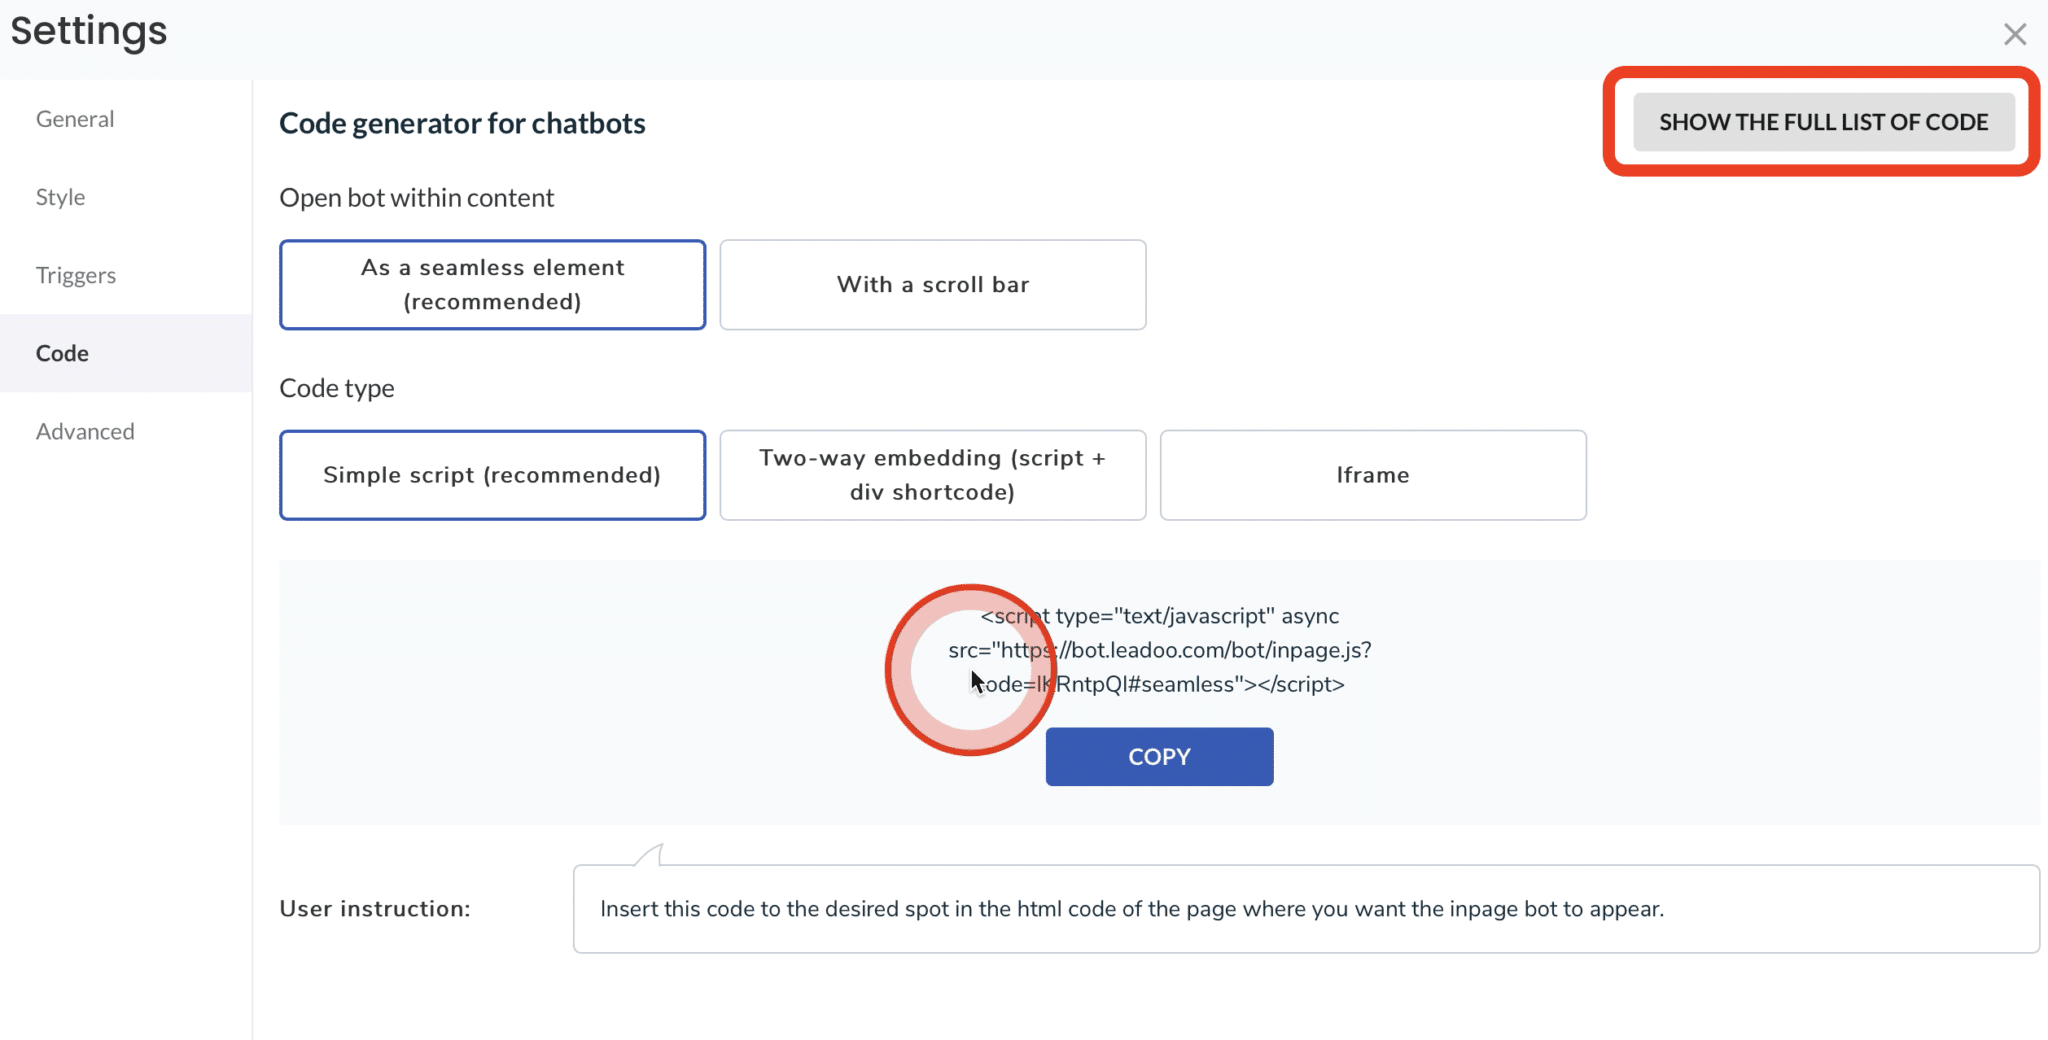
Step1: Copy the code
Click the “copy” button to get the code to your clipboard.

Alternatively, you can paint the code and copy it with your keyboard. You can always find the user instruction at the end of the code generator.

Step 2: Open your website management tool.
Once you have the code copied, you can go to your website management. If you are using WordPress, the easiest way to embed the bot is to go to your editor. In this example we are embedding with Elementor. But this logic works for any other website management system.
Step 3: Embed the code.
Choose the section where you want to embed the bot. Click on it to open it.
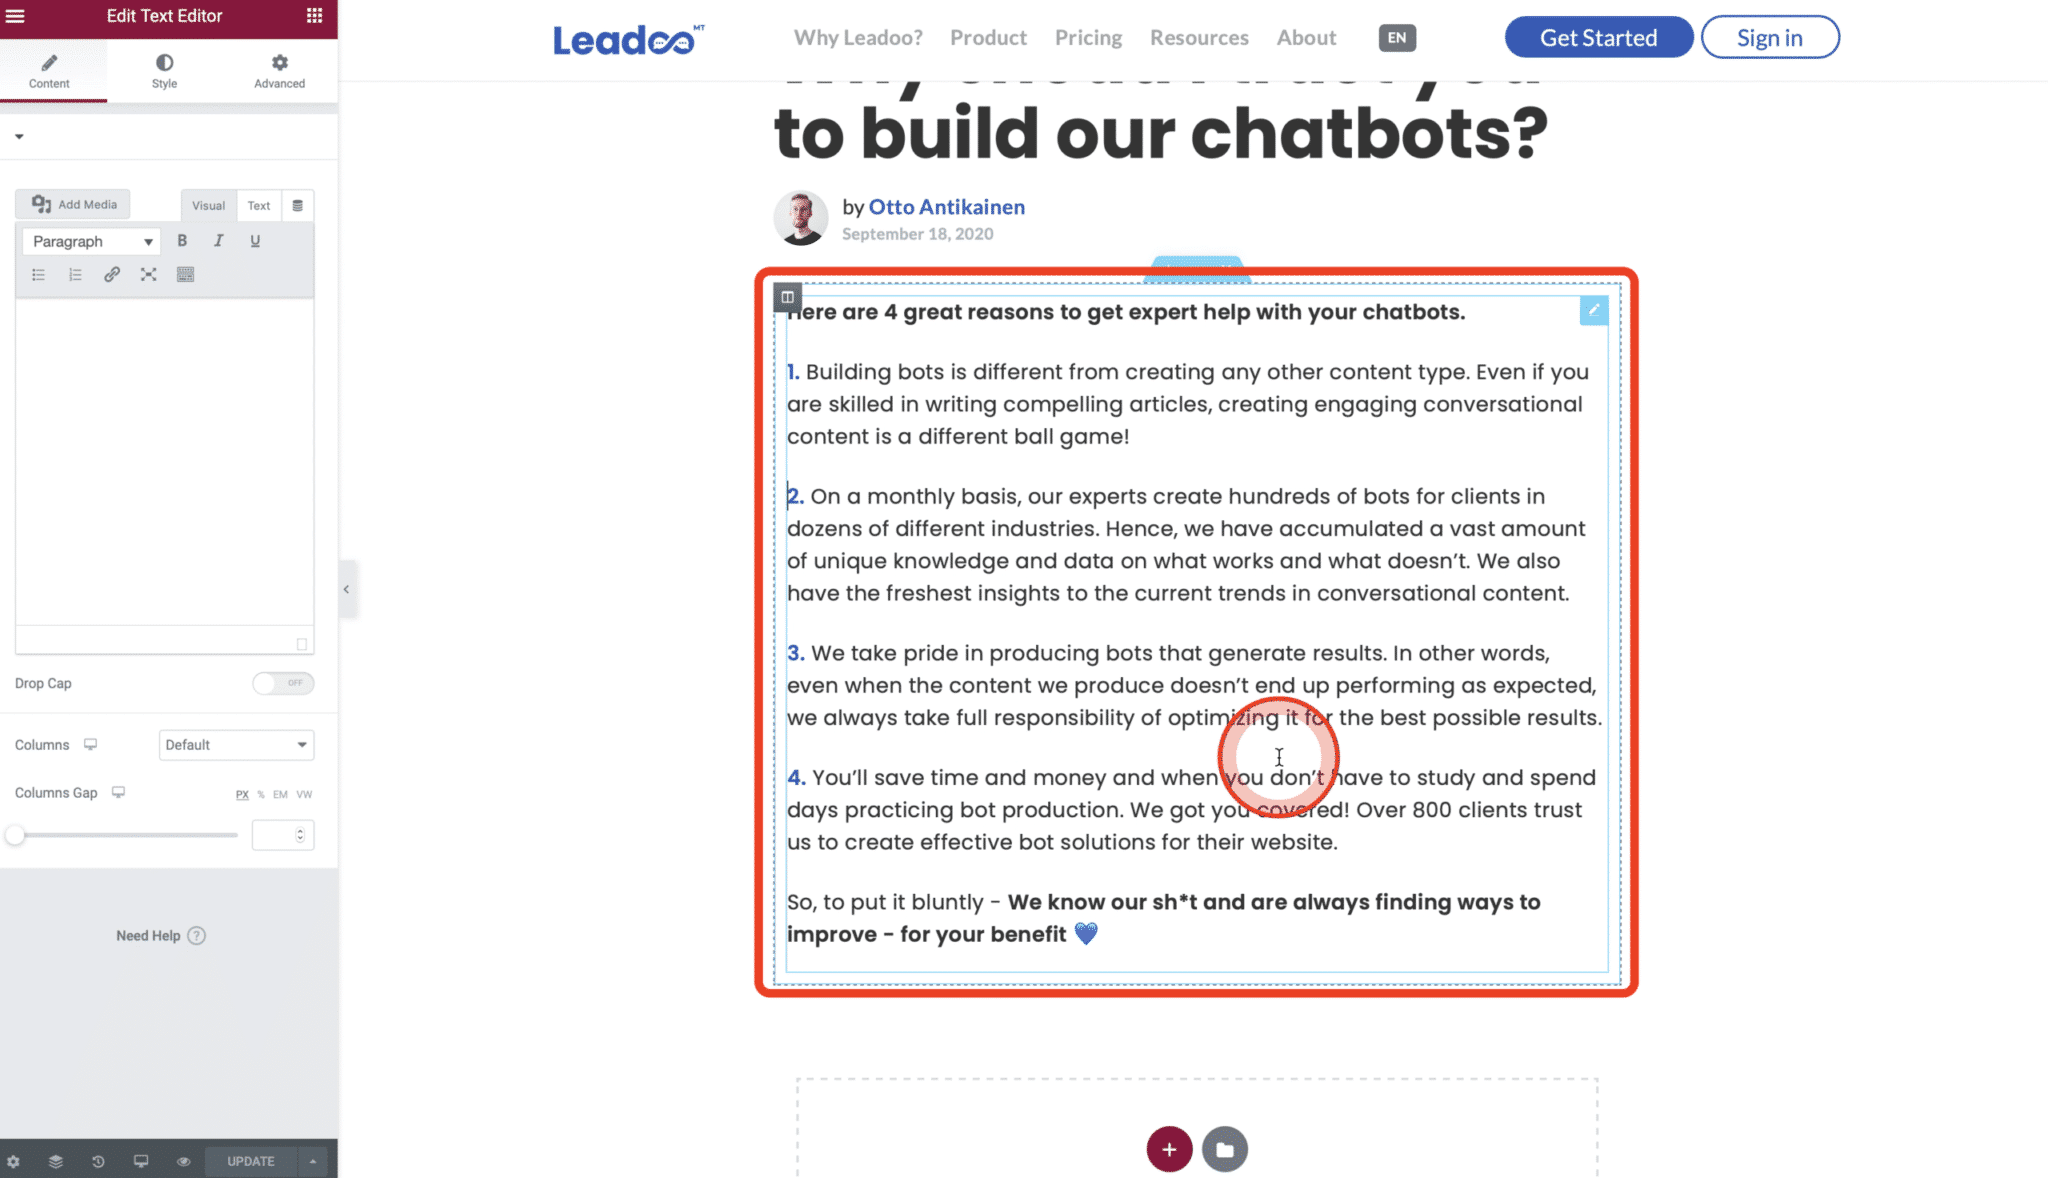
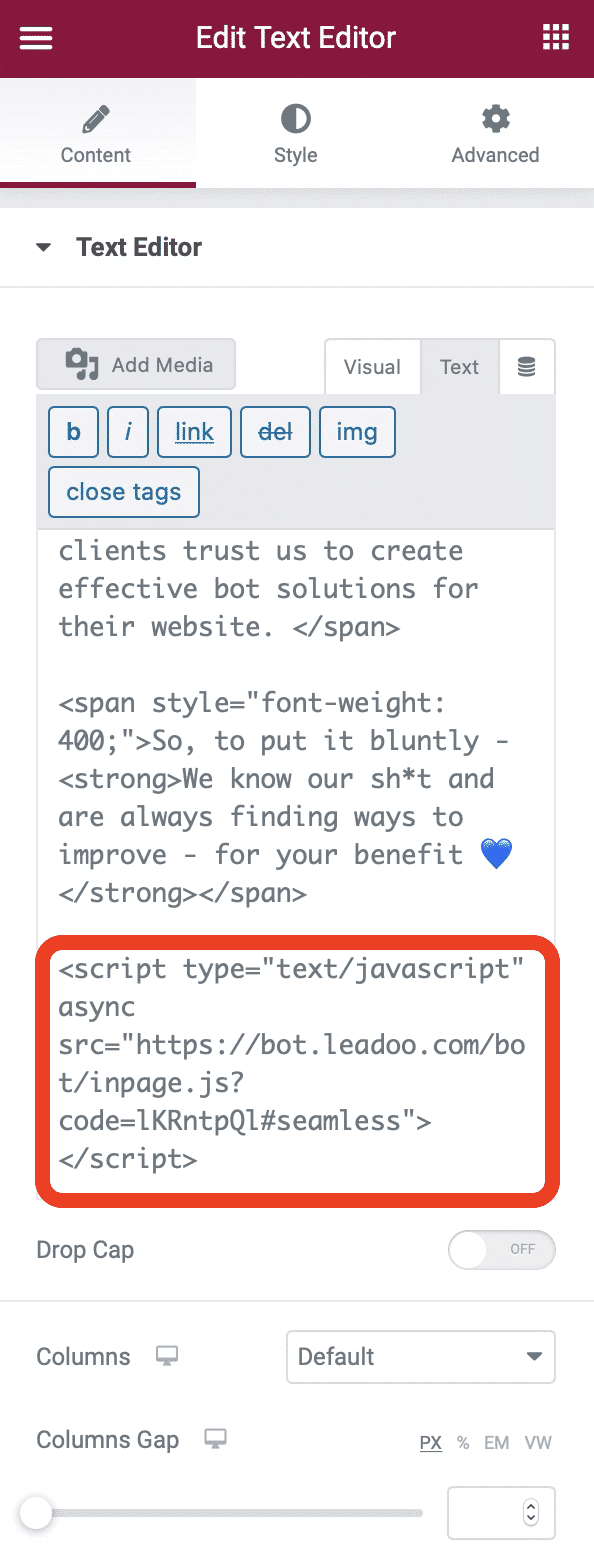
In the Text Editor you can see the visual editor and the text editor. What you want to do, is to work in the Text Editor because this is a HTML site of the website and this is where the bot will go. Switch to the text site and go to the place where you want to put the Bot.
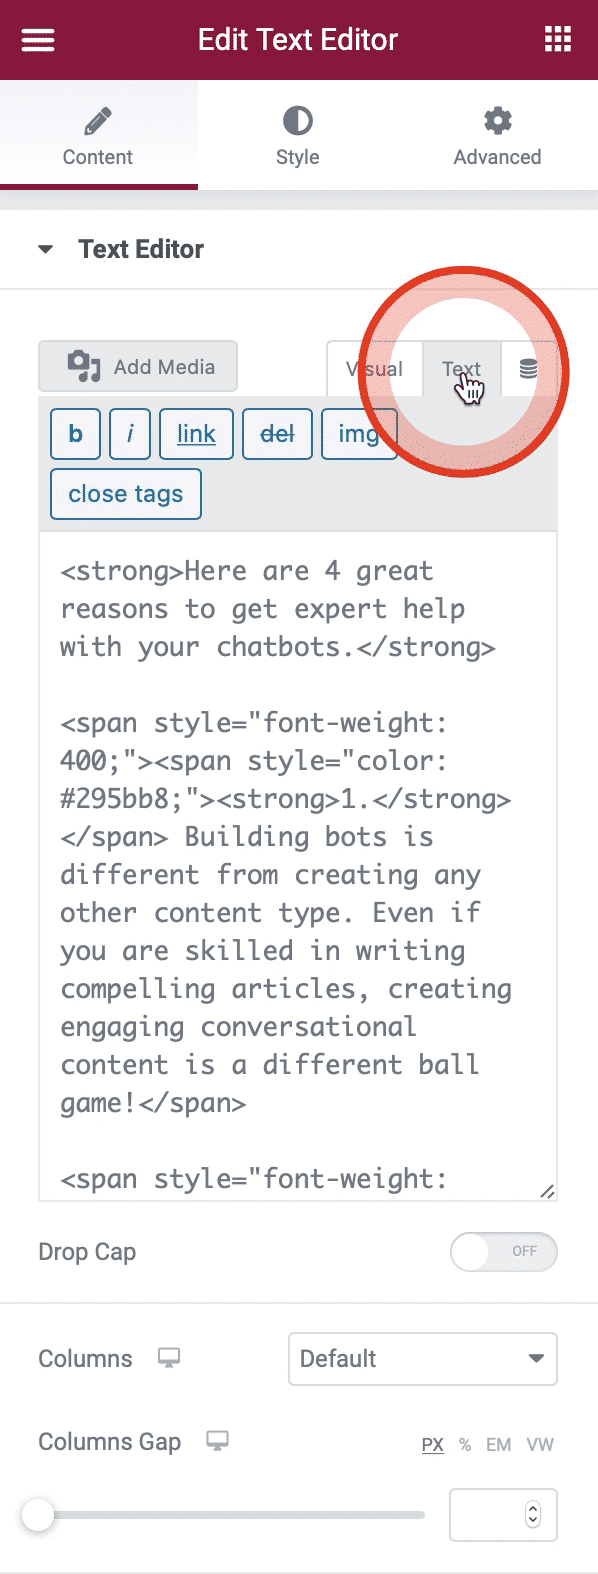
Add a little bit of space between the text and the bot code. Copy-paste the Bot to where you want it to show.
Update the page to see the end result.